MikroTik Device Management
Access, prerequisites, permissions, safety, and troubleshooting for live MikroTik changes
Access, prerequisites, permissions, safety, and troubleshooting for live MikroTik changes
On this page
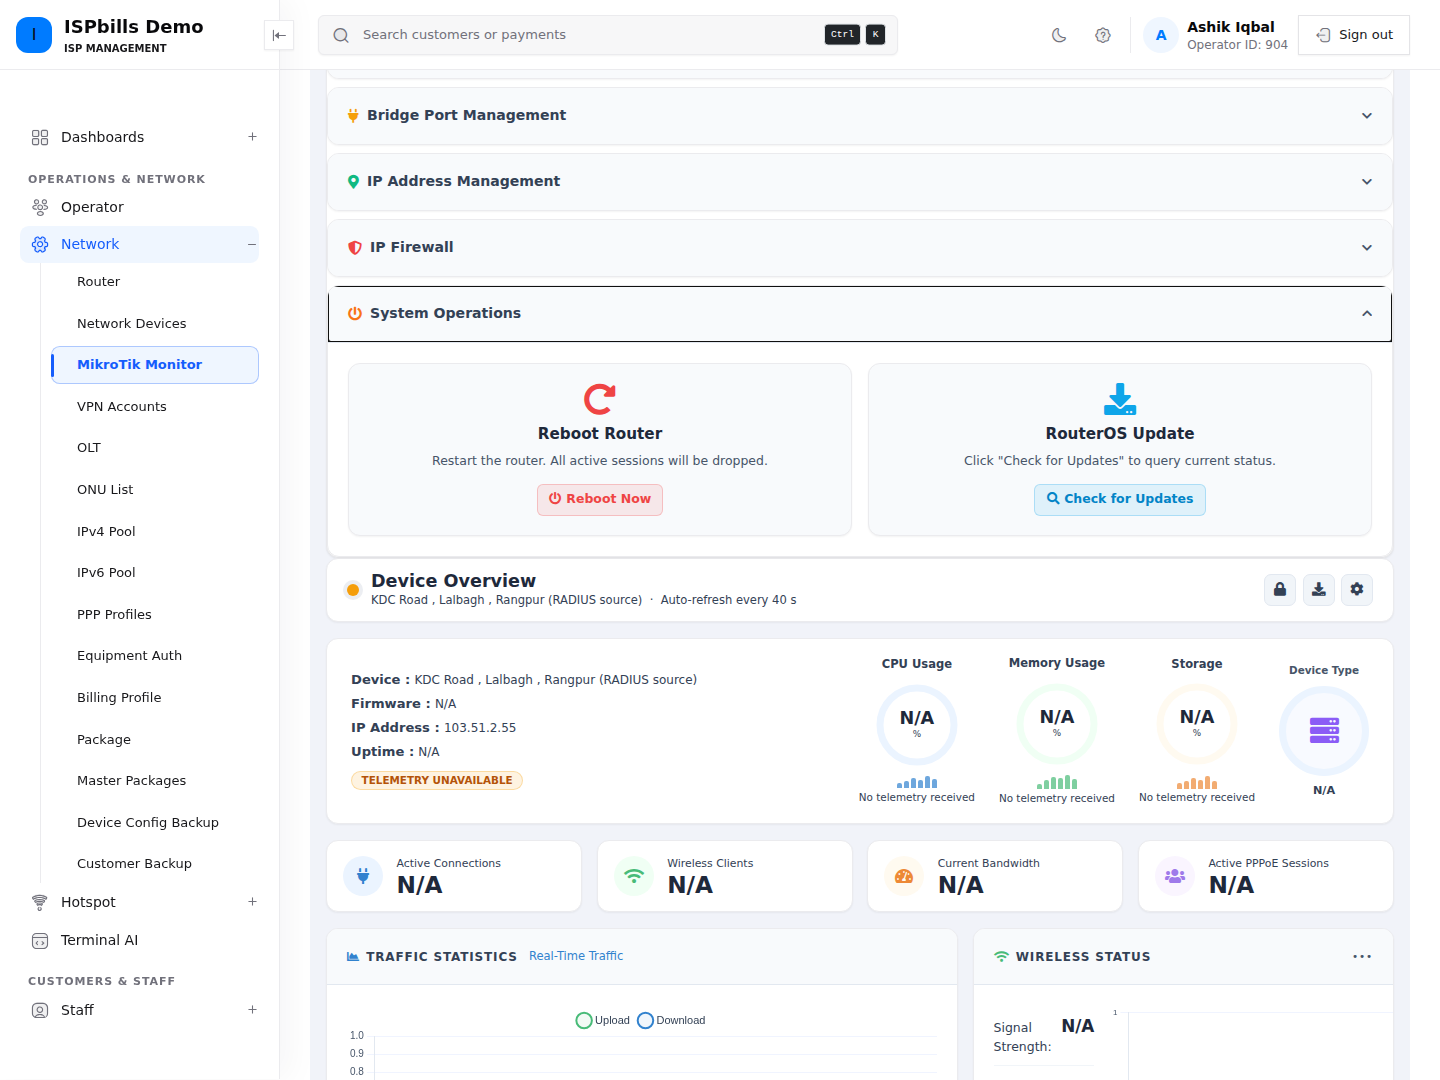
Device Management is the live-configuration area on a router’s MikroTik monitor page. It can create VLANs, bridges, bridge ports, IP addresses, firewall rules, and start system operations directly through the RouterOS API.
These changes are sent to the router immediately. There is no review queue, scheduled apply, or automatic rollback. Keep another management path available before changing an address, bridge, VLAN, firewall rule, or the router itself.
Open Device Management
- Open Monitoring → MikroTik Monitor.
- Select the router.
- Click Device Management above the live dashboard. The section is hidden until you click this button.
- Open one of the management panels. Opening a panel loads its current RouterOS data and temporarily pauses the page’s live-status polling. Refresh loads that panel again.
Access and permissions
| User | Access |
|---|---|
| Group Admin | Can manage routers belonging to the same group. |
| Developer | The panel is enabled, but the monitor page still limits the router to the user’s group. |
| NOC user | Needs the manage-router-devices permission and a router in the same group. Ask a Group Admin to enable this permission on the NOC user’s record. |
Without the NOC permission, the section shows Not Permitted and does not render its management controls. The server also checks the permission and router ownership on every management request.
The /admin/mikrotik/monitor/... routes are restricted to Group Admin and Developer accounts. The separate NOC routes are under /admin/noc/mikrotik/monitor/.... There is no standalone Super Admin route for this page.
NOC removal limit
The NOC monitor provides listing, creation, firewall-filter enable/disable, reboot, and update operations, but it does not provide delete operations for VLANs, bridges, bridge ports, IP addresses, filter rules, or NAT rules.
The page uses a shared table component, so a trash icon can still appear to a permitted NOC user. The removal request cannot complete from the NOC page. Ask a Group Admin to review and remove the item.
Router prerequisites
Before making a change, confirm that:
- The router is registered in Network → Router.
- Its RouterOS API host, username, password, and API port are correct.
- ISPbills can reach that host and port.
- The RouterOS API account is allowed to read and change the relevant configuration area.
- The selected router belongs to your group.
Use Actions → Check API on the monitor page if you need to verify the stored connection first.
Available guides
- VLAN Management
- Bridge Management
- Bridge Port Management
- IP Address Management
- IP Firewall
- System Operations
Audit trail
Successful add, edit, remove, filter-toggle, reboot, and update requests are recorded as MikroTik device-access events. An API connection failure is also recorded. Group administrators can review these events in Monitoring → Access Logs and filter by device type, action, or result.
Listing data and checking for a RouterOS update are not recorded as configuration changes. An audit entry confirms that ISPbills sent the operation; it is not a configuration backup.
Common errors
| Symptom | Meaning and response |
|---|---|
| Not Permitted or HTTP 403 | The NOC permission is missing, or the router belongs to another group. Have a Group Admin review the user and router ownership. |
| Could not connect to router API or HTTP 502 | Check the router address, API port, credentials, firewall reachability, and RouterOS API service. |
| Request failed (405) after a NOC user clicks a trash icon | NOC delete routes are intentionally unavailable. Use a Group Admin account for a reviewed removal. |
| A form reports a validation error | Check the required fields and the length/range rules in the relevant guide. RouterOS can also reject values or combinations that pass the page’s basic validation. |
| A selector stays on Loading… or has no choices | The live interface or bridge request did not complete. Close and reopen the panel or click Refresh, then check API connectivity and the API account’s read permissions. |
| The list does not show the expected result | Click Refresh. If it is still absent, inspect the router and the access log; the page does not provide a rollback or transaction history. |