On this page
Overview
A VPN Account allows ISPbills to communicate with MikroTik routers that do not have a static public IP address. Many ISPs operate their routers behind a dynamic IP, carrier-grade NAT (CGNAT), or double-NAT setup, making it impossible for the ISPbills RADIUS server to reach the router directly. A VPN tunnel solves this by providing a stable, always-reachable private IP address for the router.
How It Works
- ISPbills provides a VPN endpoint (server).
- The MikroTik router creates a VPN tunnel to that endpoint using the provided credentials.
- Once the tunnel is established, the router is reachable from ISPbills via a stable VPN-assigned IP address.
- Register the router using this VPN IP address and its MikroTik API credentials. Management requires a working internet connection, connected tunnel and reachable API.
When You Need a VPN Account
| Situation | VPN Required? |
|---|---|
| Router has a static public IP directly reachable from ISPbills | ✗ No |
| Router has a dynamic public IP | ✓ Yes |
| Router is behind NAT (e.g., ISP’s CGNAT) | ✓ Yes |
| Router is on a private network / branch office | ✓ Yes |
One VPN account per router. Each router requires its own dedicated VPN account.
Creating a VPN Account
- Navigate to Routers & Packages > VPN Accounts.
- Click the “New Account” button.
- On the New VPN Account page, click Create Account. VPN accounts are free; there is no additional VPN account fee. ISPbills creates an account with:
- A unique VPN IP address (the IP you will use when registering the router in ISPbills)
- A unique Winbox IP and port (for remote Winbox access to the router)
- VPN credentials (username and password for the MikroTik VPN configuration)
- The account-specific Configure VPN Account page opens. Keep its configuration private.
Setting Up the VPN on Your MikroTik Router
After creating a VPN account, configure the tunnel on your MikroTik router:
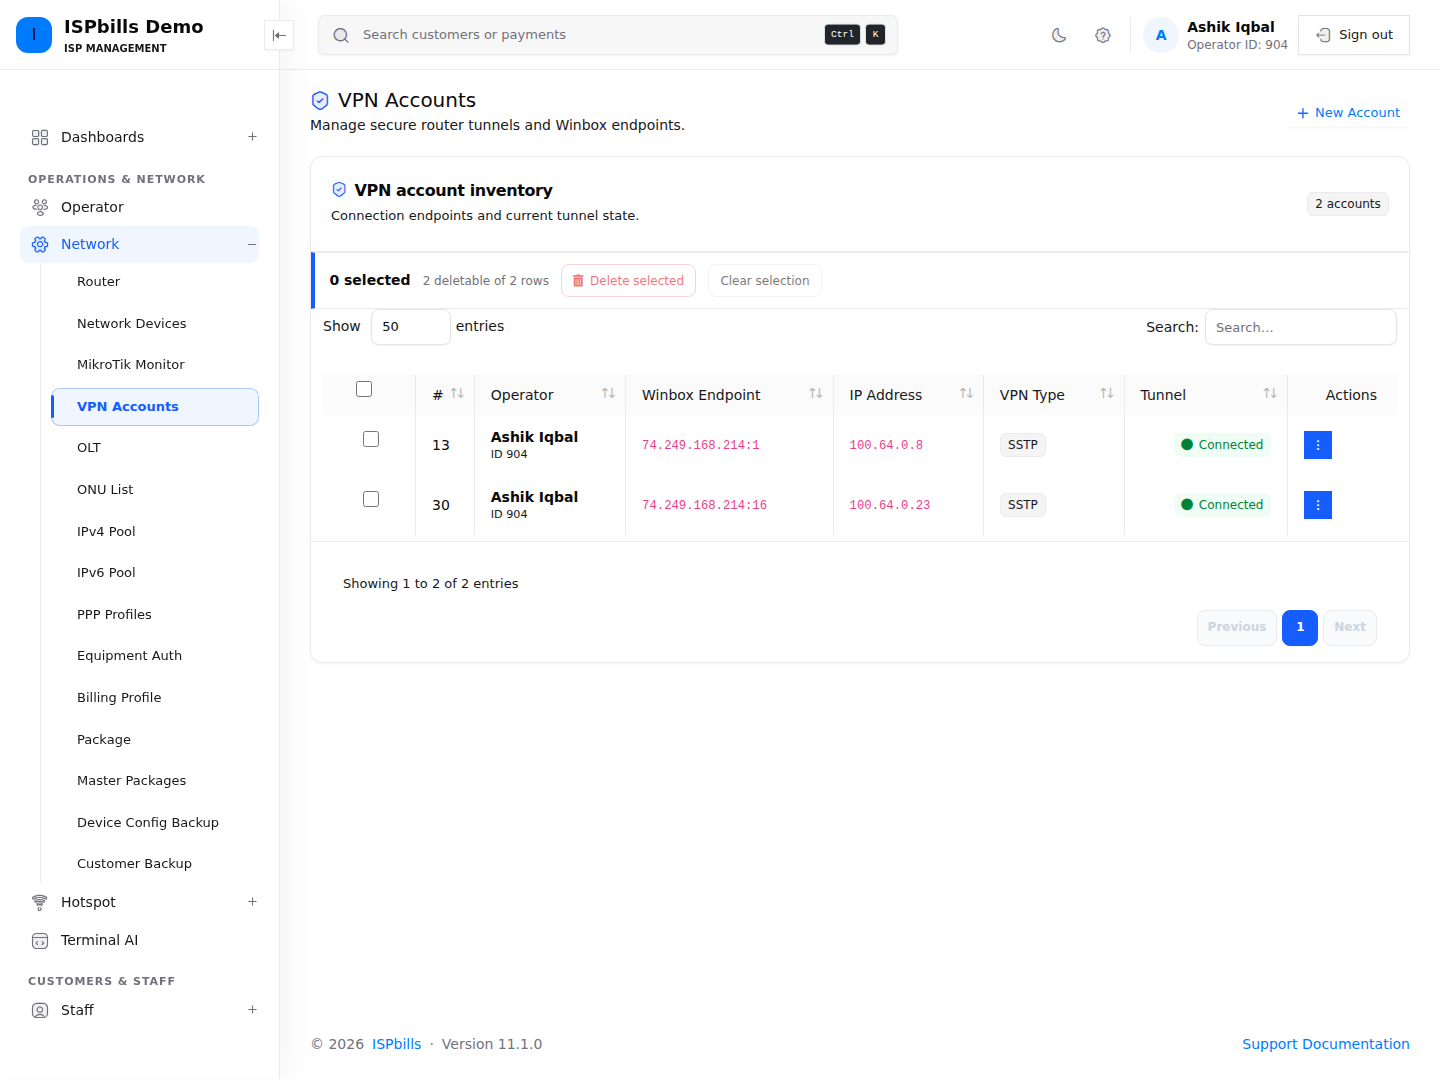
- In the VPN Accounts list, open Actions > Configuration (called Config Info in older guides).
- On Configure VPN Account, select the MikroTik RouterOS v6 or MikroTik RouterOS v7 panel matching your router.
- Click Copy, review the account-specific script, then paste the complete matching script into MikroTik New Terminal. The current screen configures an SSTP client; do not substitute a generic PPTP, L2TP or WireGuard recipe.
- Wait for the SSTP tunnel to connect. Copy the address labelled Router IP for ISPbills and click Add Router.
Standalone VPN mode uses the SSTP tunnel directly. No legacy server-subnet NAT or static route is required. ISPbills manages the server and address allocation; customers do not need to build another VPN server for this workflow.
Registering the Router Using the VPN IP
When adding the router to ISPbills (see Routers):
- In the IP Address field, enter the VPN IP address shown in the VPN Accounts list for this account.
- Do not enter the router’s local or public IP — use the VPN-assigned IP only.
- The Winbox Endpoint is for remote Winbox access, not the Add Router IP Address field.
- Fill Location, IP Address, API Port, Overwrite PPP Comment, API User, API Password, Latitude and Longitude, then click Submit Configuration.
- API User and API Password are the MikroTik router’s credentials, not the VPN credentials embedded in the SSTP script.
Remote Winbox Access
You can access your MikroTik router remotely via Winbox without a public IP using the VPN:
- In the VPN Accounts list, find the router’s account.
- Copy the Winbox Endpoint shown in the account list.
- In Winbox, connect to
[Winbox IP]:[Port]to reach the router from any network.
Important: Do not change the MikroTik router’s default Winbox port (8291). Changing the port will break the pre-configured remote Winbox access through the VPN system.
Cost
VPN accounts are free. No additional VPN account fee is charged. Other ISPbills products and subscription charges are separate. Remove unused VPN accounts only after confirming that no registered router depends on them.
Summary of Key Points
- One VPN account per router.
- Use the VPN IP (not the router’s local or public IP) when registering the router in ISPbills.
- Use Actions > Configuration, then copy the matching RouterOS v6/v7 SSTP script.
- Use the Winbox IP and port in the VPN account list for remote router access.
- Keep the default MikroTik Winbox port (8291) unchanged.
- VPN accounts are free, with no additional VPN account fee.